


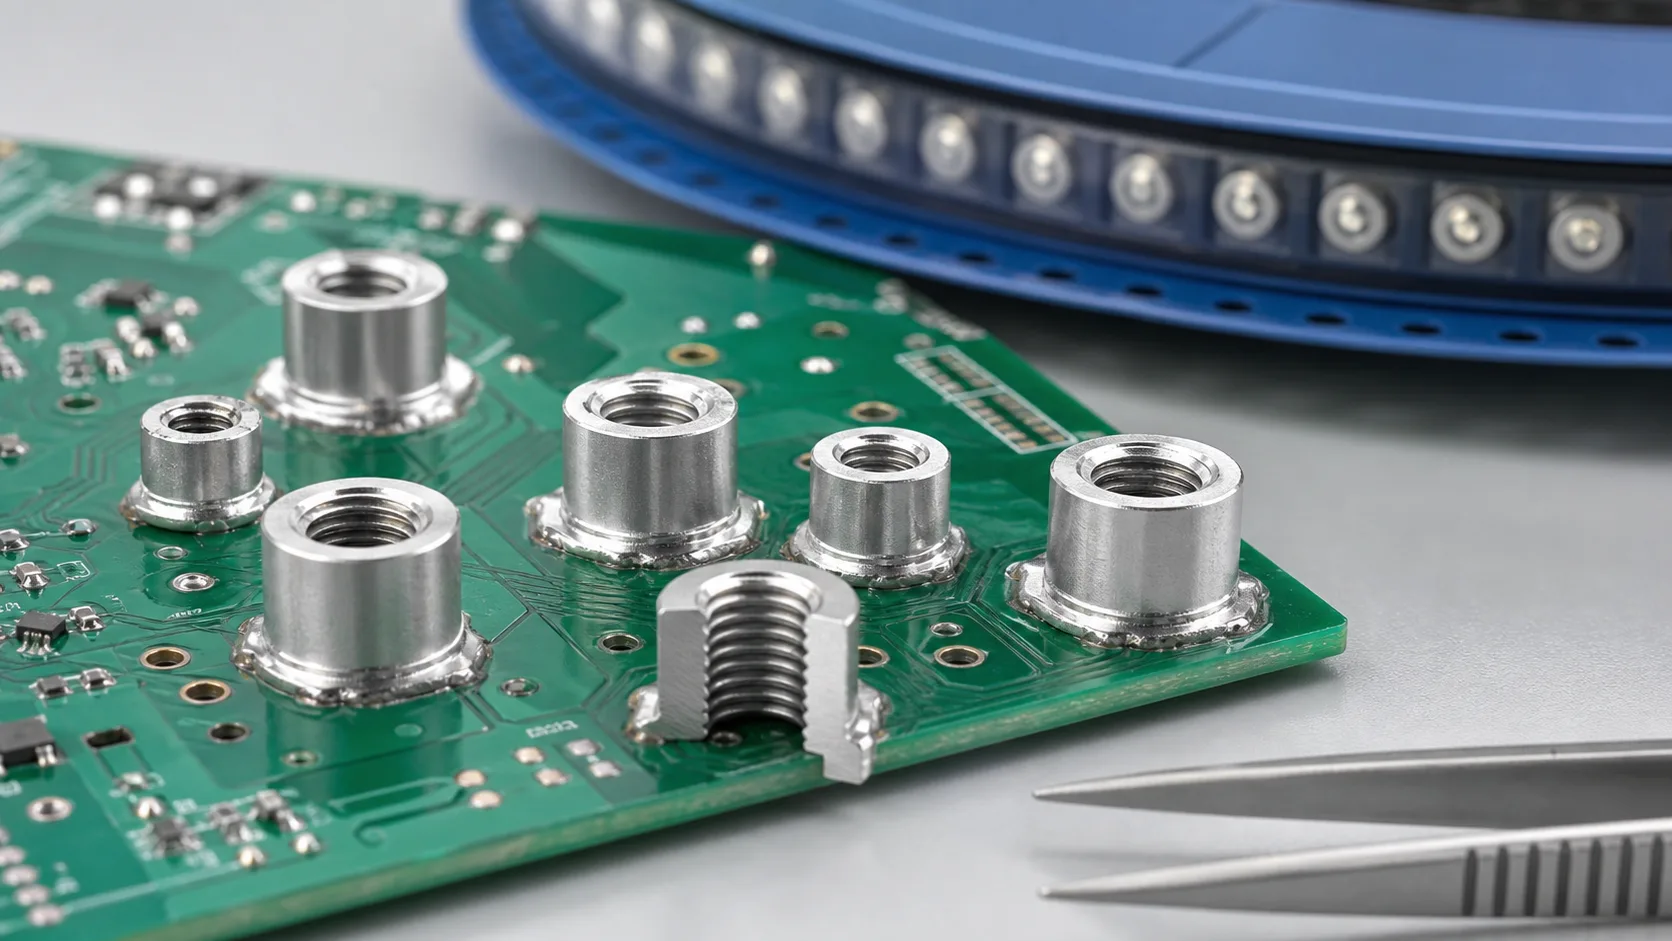
Quick answer: Solder in an SMT nut thread after reflow is usually caused by the combination of stencil opening, paste collapse, nut underside clearance, reflow profile, board support and cleaning. First identify how solder enters the thread, then adjust opening, paste thickness, mask isolation, nut geometry or process temperature. Finally use go/no-go gauges, bolt torque, pull and thermal-cycle tests. Visual inspection alone is not enough.
Questions answered on this page
- Why does solder enter an SMT nut thread?
- How should stencil opening and paste be controlled?
- How should underside clearance, pad and mask work together?
- How should gauges and bolt torque be set?
- How should cleaning, rework and sampling be handled?
Application context
SMT nuts support shields, brackets, insulators, light heat sinks and automated PCB assembly. Hongchuan supplies SMT nuts and PCB hardware. For heavy cables or busbars, use independent structural support instead of asking the SMT nut to carry all load.
Four entry paths for solder
| Entry | Cause | First check |
|---|---|---|
| Above the hole | Opening covers hole, paste collapses | Opening location and thickness |
| Under the nut | Large clearance and lateral flow | Underside and pad boundary |
| Thread mouth | Flux or molten solder is drawn in | Solder height and profile |
| Rework | Touch-up or poor cleaning | Rework and cleaning rules |
Stencil and paste adjustment
The opening should provide enough solder for pad coverage while keeping solder away from the thread entrance. Use segmented openings, reduce the aperture near the hole or reduce local paste thickness only with joint-strength validation. Check stencil thickness, offset, rework and first-article cross sections.
For pad lift, annular crack and torque, see SMT nut pad and tightening-torque validation.
Reflow, cleaning and rework
Ramp, soak, peak and cooling affect paste flow and collapse. Poor fixture support can tilt the nut or warp the PCB, concentrating solder on one side. Cleaning must not push softened solder into the hole. Define wick, local heat, cleaning and second-gauge checks for rework. Do not force a bolt through the thread as a cleaning method; it can damage the thread and change torque.
Gauge and torque checks
| Check | Purpose | Timing |
|---|---|---|
| Go gauge | Confirms usable thread | After reflow, clean and rework |
| No-go gauge | Checks abnormal damage or oversize | First article and sampling |
| Bolt torque | Checks resistance and repeatability | Prototype, pilot and changes |
| Pull/thermal cycle | Checks joint and structure stability | Type and reliability tests |
FAQ
Can a nut with a little solder in the thread be used?
Do not judge visually. Use gauges and target bolt torque, then consider load and thermal cycling.
Will a smaller opening weaken the nut joint?
It can. Verify coverage, pull, torque, board thickness and cycling while reducing solder ingress.
Can Hongchuan support the process?
Yes. Match thread, board, pad, stencil, reflow and fastening requirements for samples. Start with the high-current PCB hardware selection guide.